11 minutes, 32 seconds
Building a contact list is the first step you need to send your first campaign on CCAI. There are two ways to upload contacts to your account. You can either upload an existing contact list that is in CSV format, or you can manually upload contacts one-by-one.
If you wish to keep your contacts organized based on group, region, etc., you can use the Lists option to upload your contacts.
What we will cover:
Uploading a CSV contact list
Uploading contacts manually
Using Lists to keep contacts organized
Upload a CSV
We will begin by uploading contacts in CSV format. To upload contacts with CSV format, you will need at least the following fields for your contact list to upload properly: First Name, Last Name, and Phone Number.
If you wish to send emails, you will have to add a column to your CSV for an email address.
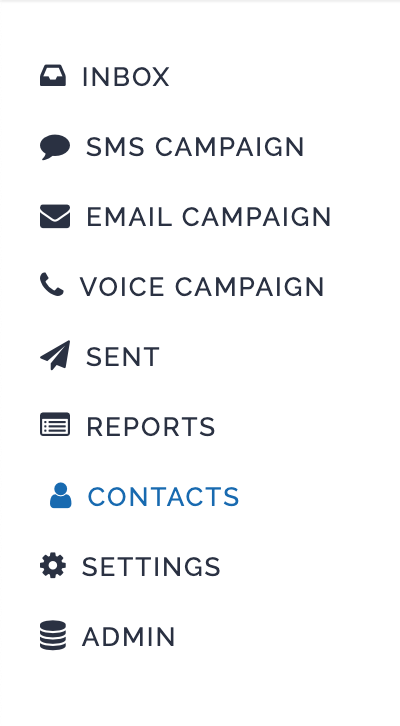
If you have an existing contact list, you can upload your list by selecting Contacts in the left-hand menu.
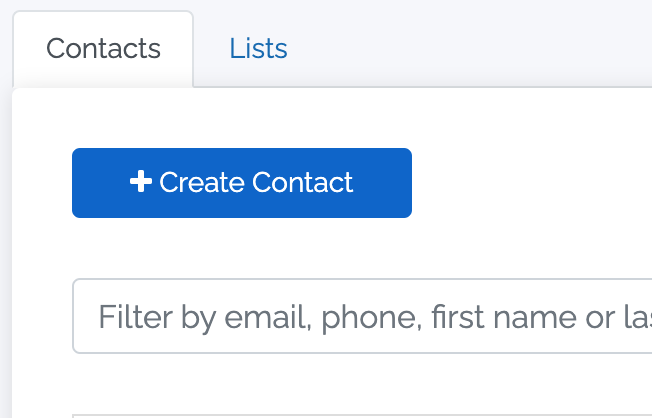
Next, you will click the Create Contact button.
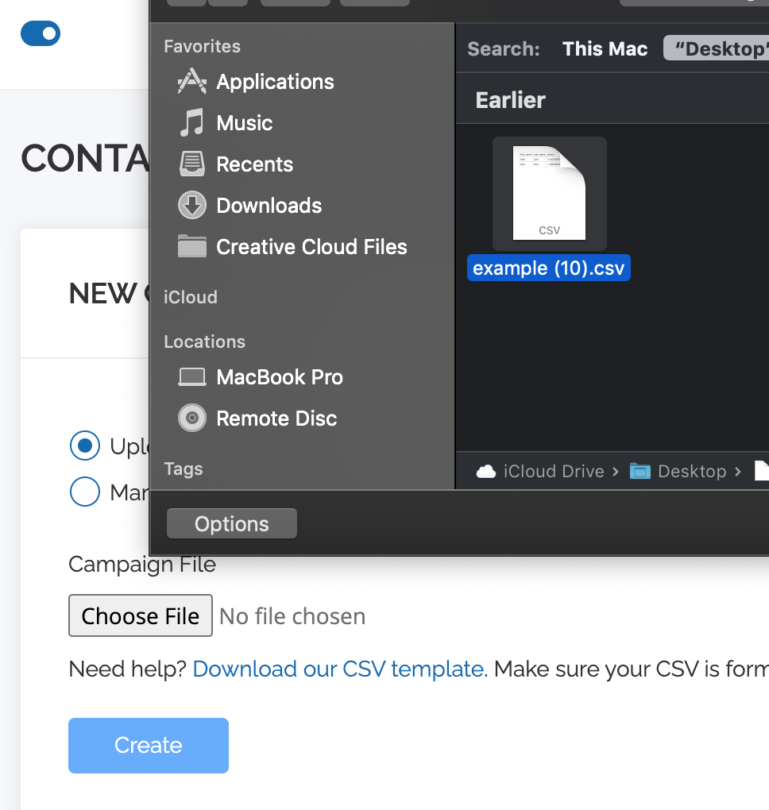
Then, you will click the Choose File button, locate your contact list, and select Create.
Your contacts are now uploaded and you can begin sending campaigns.
If you don’t have a contact list, you can download our CSV template and start uploading your contacts. Follow the steps listed above to upload your list once you have finished inserting your contacts.
Manually Add Contacts
Manually uploading contacts is a quick and easy way to send messages to a small group of contacts.
To manually add contacts, select Contacts in the left-hand menu.

After that, click Create Campaign.

Select the Manually Add Contacts bubble.

Click Add and begin uploading your contacts.
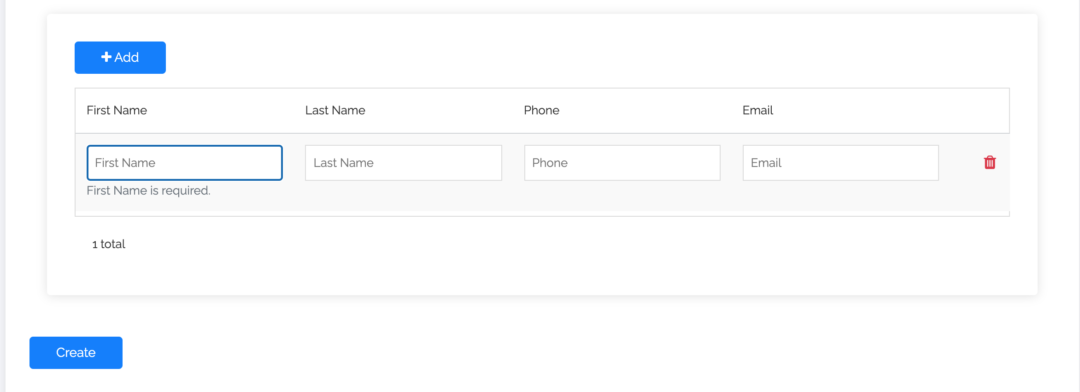
After you have added your contacts, click Create.
You can now begin sending campaigns to your audience.
Lists
Lists can help you clean up your contacts and provide an easy and clear way to differentiate groups of people based on cold leads, warm leads, or whatever use case you wish to classify your contacts.
To create a List, click Contacts in the left-hand menu.

Select the Lists tab and click Create List.
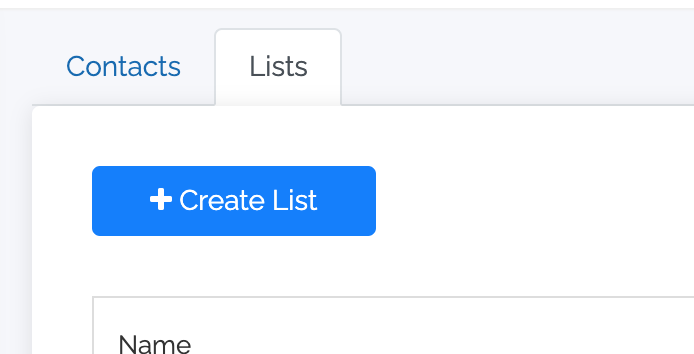
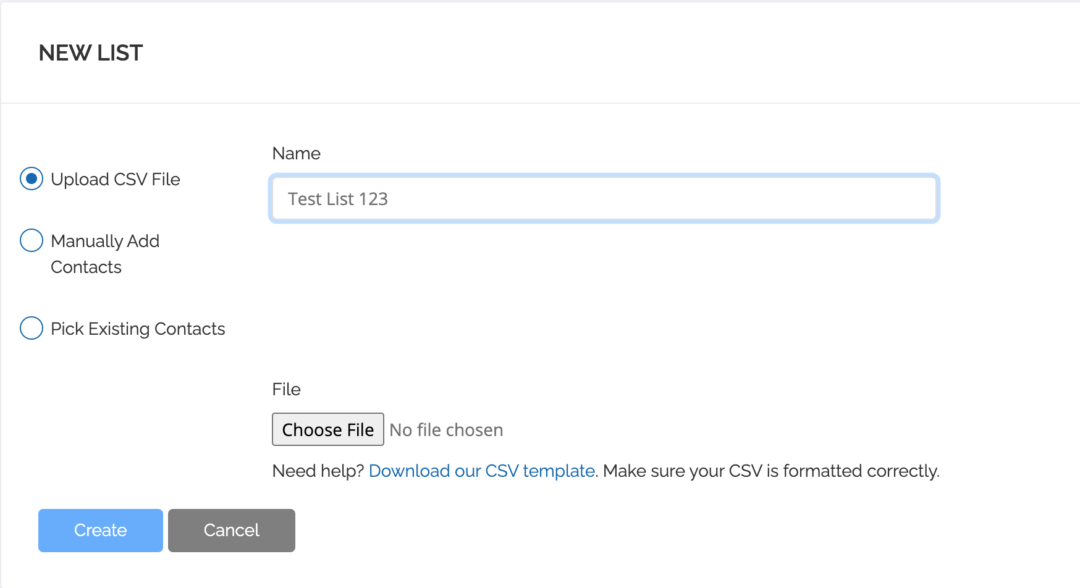
On this page, you will be able to Upload a CSV or Manually Add Contacts, just as we did in the examples above. You can also choose to pick existing contacts and add them to your list.
After you decide whether you’re going to Upload a CSV, Manually Add Contacts, or Pick Existing Contacts, you will choose a name for your list.
After you have added your contacts and chosen a name, you can click Create.
You’re now all set and ready to send your first campaign. To learn how to send an SMS, Email, or Voice campaign, click here.
