Create and Upload Contacts / Contact Lists with CCAI
If you’re new to our platform it’s understandable that you may not know how to use every feature just yet. However, CCAI has a simple-to-use user interface that you’ll have the hang of in no time if you read and/or watch our comprehensive tutorials! We want our users to have every resource possible to use our product efficiently and streamline their business efforts.
If videos are more your style, be sure to check out our other comprehensive how-to videos!
2. Click on “CONTACTS”
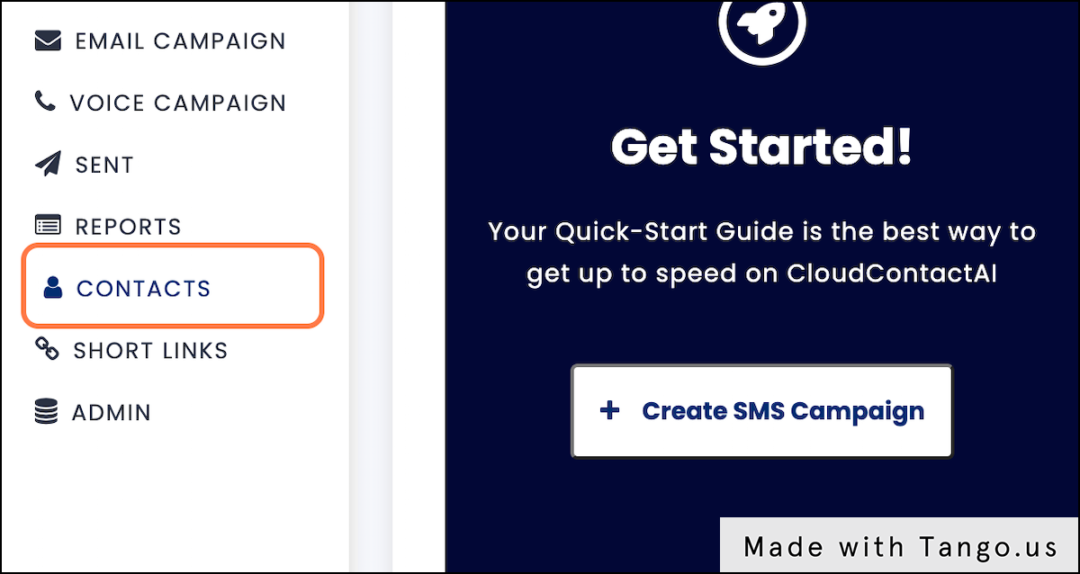
3. Click on ‘Add Contacts’
If you’re brand new to CloudContactAI, you won’t have any contacts listed in your account.

4. Manually Upload a CSV File to Add Multiple Contacts at Once
To do this, check ‘Upload CSV file’, then select your file. Be sure that you have a first name, last name, phone number, and email column or the file will be rejected.
5. Once Your File is Uploaded, Select ‘Create’

6. Now, We’ll Manually Upload a Single Contact
Select ‘Create Contact’
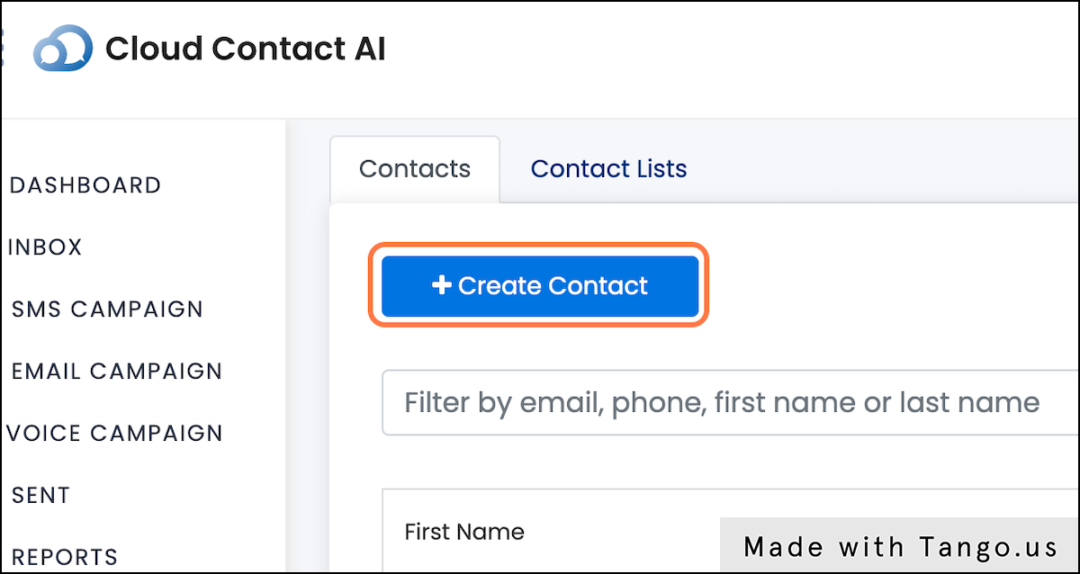
7. Select ‘Manually Add Contacts’
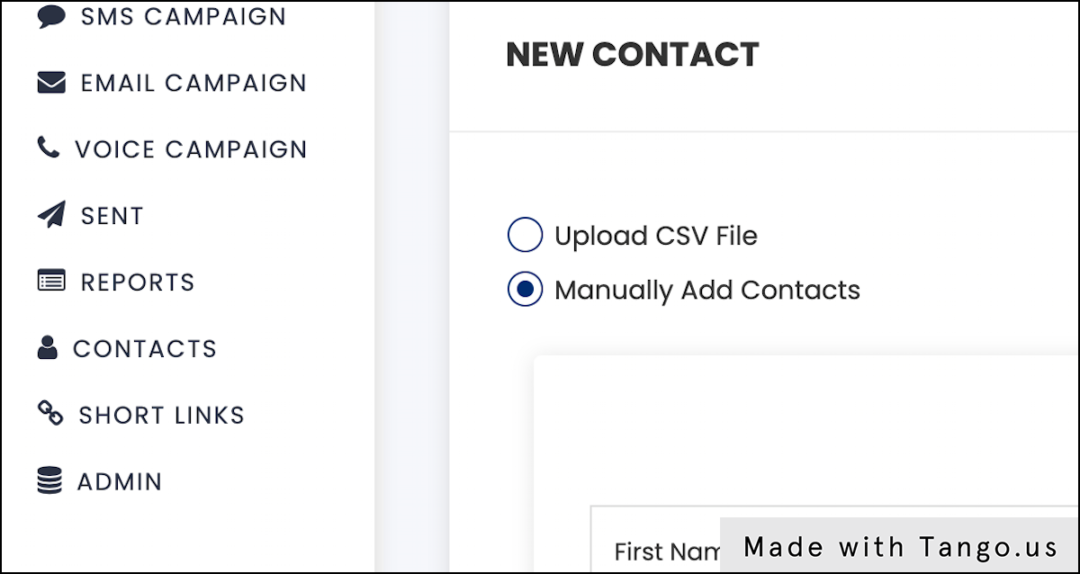
8. Add the First Name of Your Contact
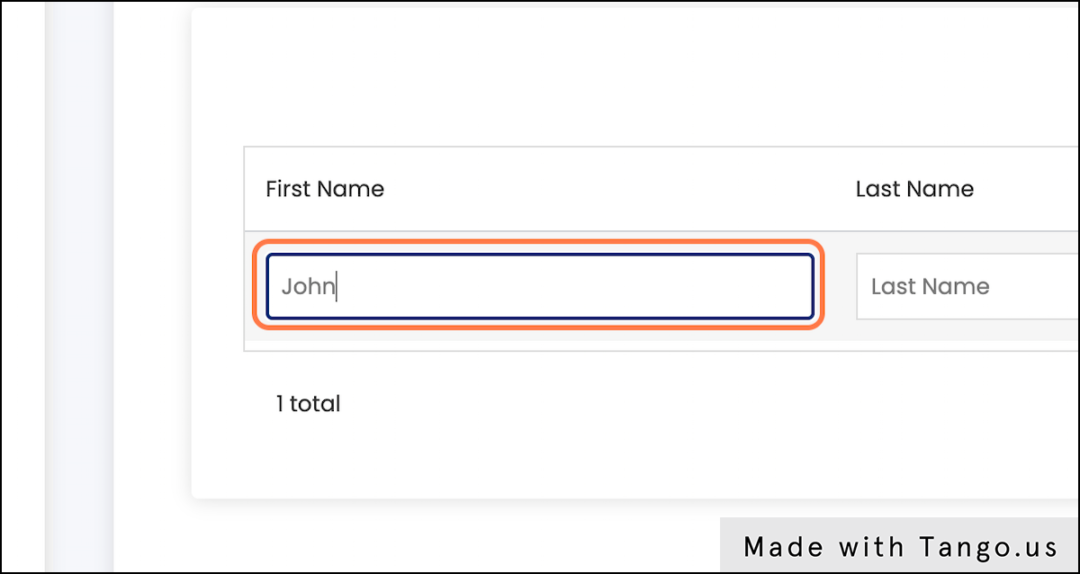
9. Add the last name of your contact
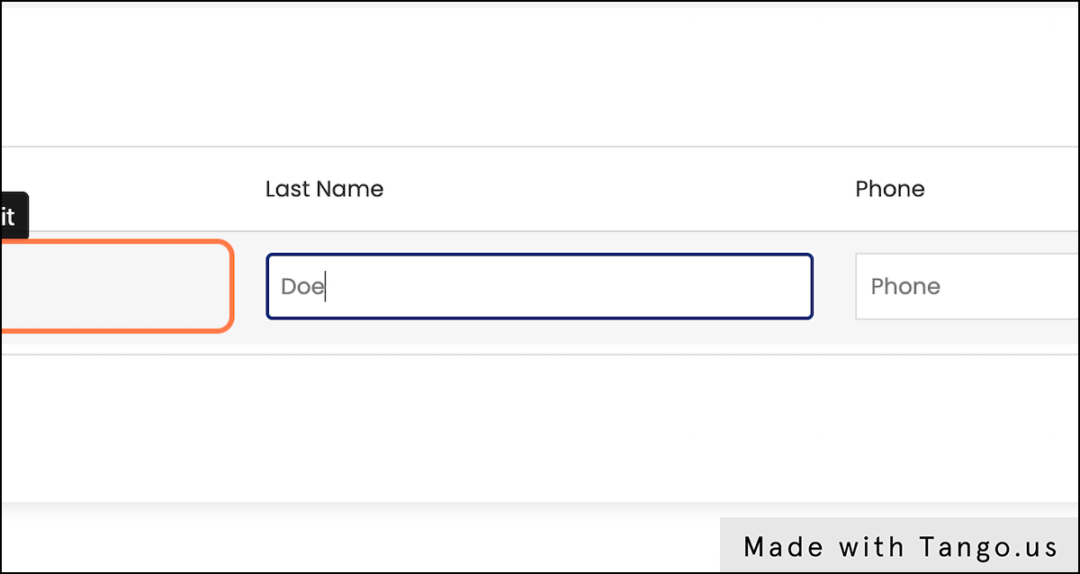
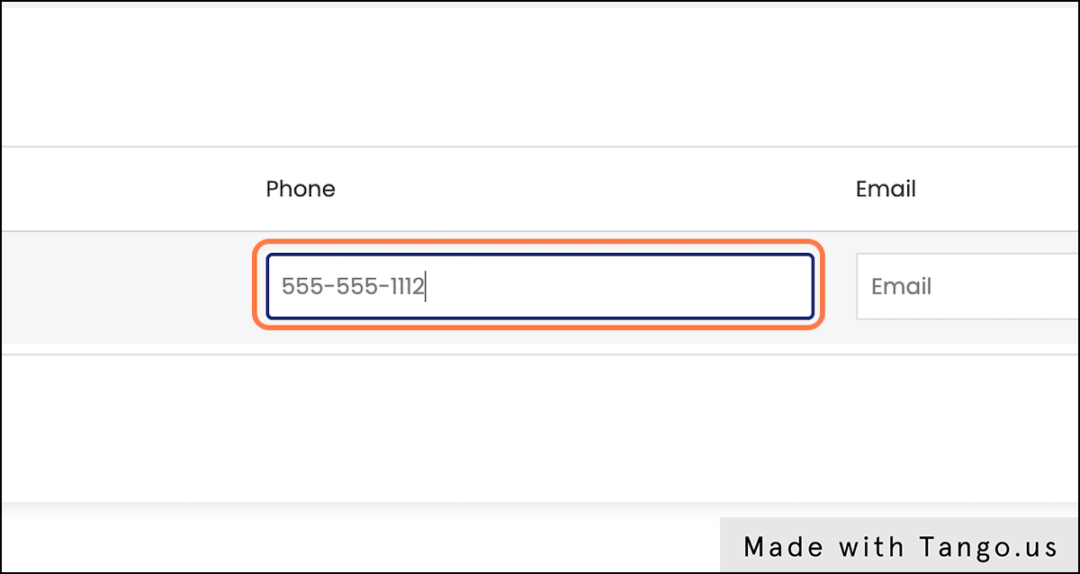
10. Add the Phone Number and Email of Your Contact
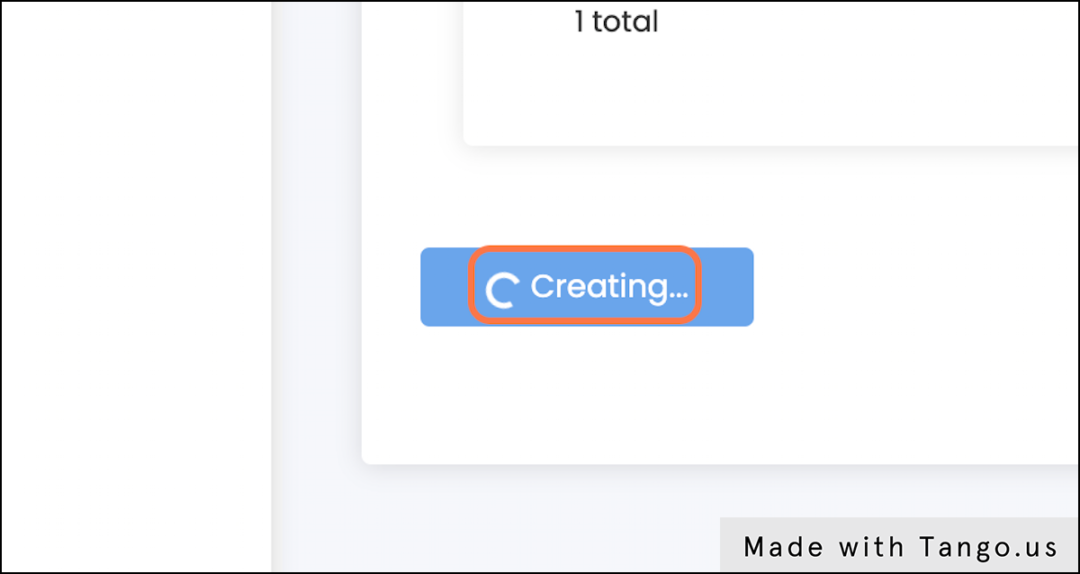
11. Click ‘Create’
12. Send Your First Campaign!
Once you’ve got contacts uploaded, it’s time to start sending. We’ll cover this in our next tutorial.
What Industries Can Utilize SMS Marketing?

Automotive

Banking

Debt Collection

Gyms

Healthcare

Hospitality

Political Campaigns

Real Estate

Retail

Restaurants

Sports Facilities


